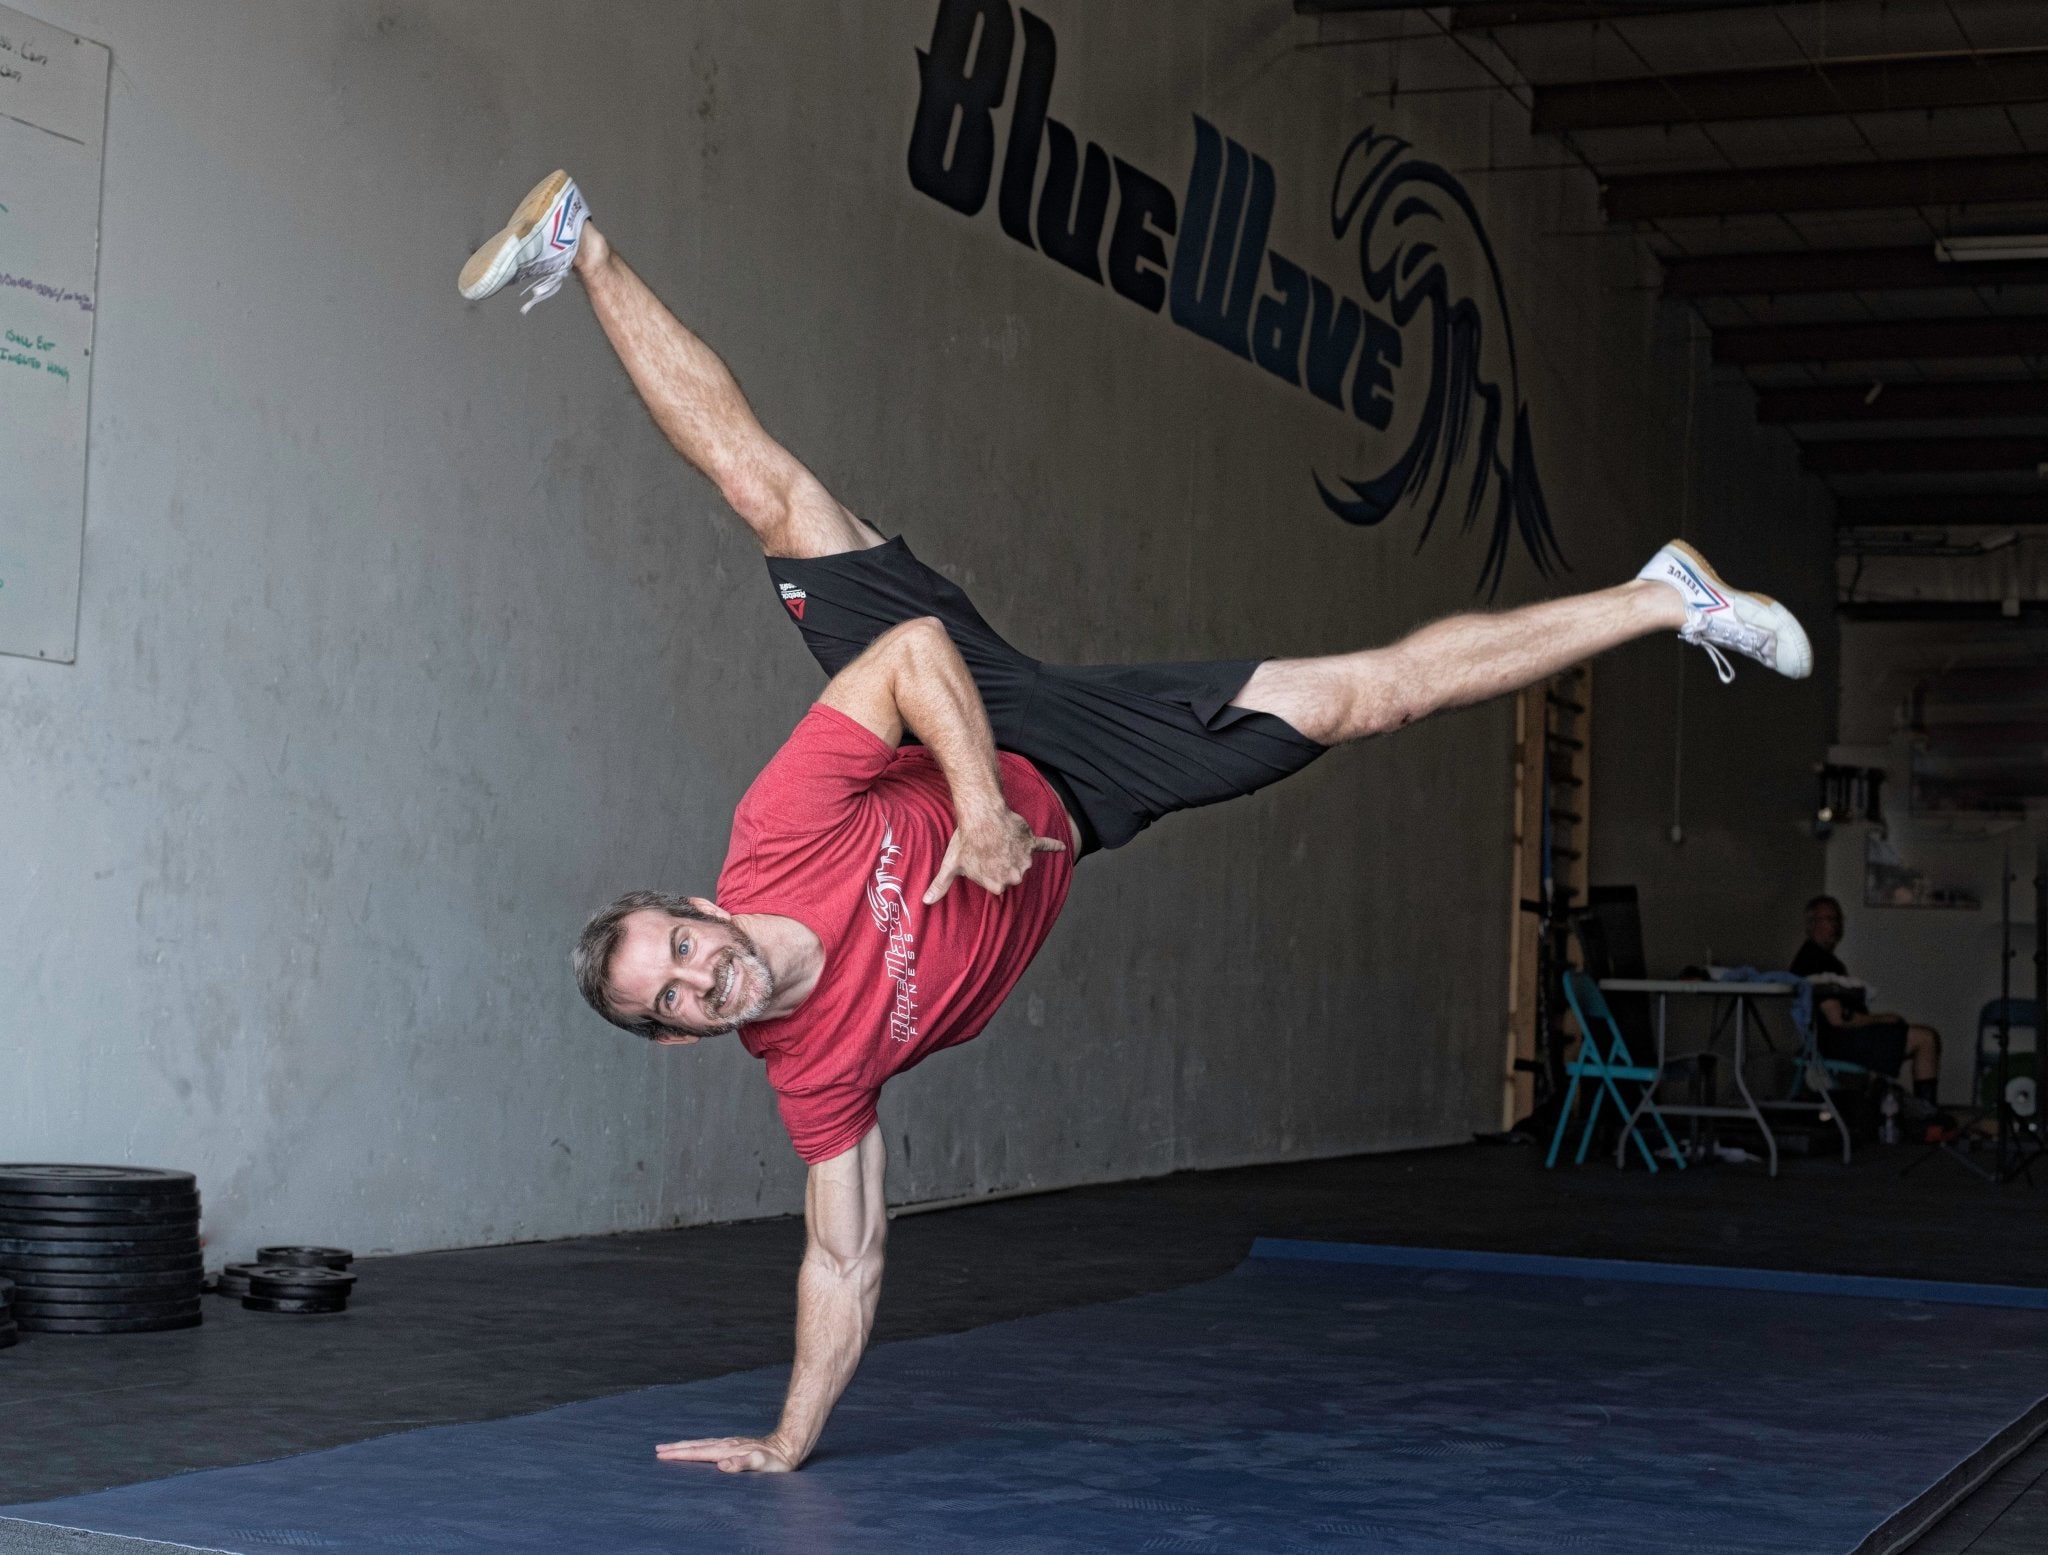
Walking on your hands is great for upper body strength, balance, coordination, working out imbalances between your arms, and more. It’s also fun! This article is going to provide a step by step (pun intended) guide to walking on your hands.
You will likely hear me say this again and again, with skill and strength progressions you must completely master one skill before moving on to the next. This ensures a proper foundation that allows you to continue to progress. Most of the time when people come to me to work on hand balance or walking it is because they have neglected the need for this foundation. Instead, many athletes have been encouraged to “just try to do it.”
Step 1 - Have an Exit Strategy
Fear is the biggest problem I come across. When you’re afraid of falling over, the result is a tendency to not commit to the forward lean necessary to walk in a handstand. You may not feel like you’re afraid but your body will keep you in its comfort zone. Most commonly, this comfort zone is the way you get in and out of your handstand (i.e. the kick up and step-down).
The best exit strategy is to cartwheel out. First, determine which side you like to cartwheel on. Is it the right leg forward with right hand first or the opposite? Knowing this will determine which way you turn out of the handstand. I do a right-legged cartwheel, for example. So to rehearse my exit, I kick up to a handstand, fall towards my back and when I feel the fall past vertical initiate, I leave my right hand in place on the ground and move my left hand forward to allow my body to turn towards a cartwheel movement.
Practice this for a minimum of 10 reps per day. You must get through the vertical position (don’t turn early) and you must get very comfortable with the bailout.
Step 2 - Find Your Controlled Lean
Learn how to control how much you lean forward. This will help control your speed of walking. The harder you lean, the faster you will walk, and vice versa.
As a drill, stand about 3' away from a wall. Kick up to a handstand and slowly and deliberately pull yourself to the wall. Avoid kicking up straight into the wall as this will defeat the purpose of the exercise. This exercise will teach you how to consistently get into the proper position for walking.
Step 3 - Controlled Walking
Take what you did in Step 2 and now add a predetermined number of steps you plan to take. So let’s say you want to take two steps on your hands. Start a little further from the wall at a distance that allows for your desired number of steps (in this case, enough room for 2 steps). Kick up to a handstand and with a controlled lean, take 2 steps, followed by a controlled lean into the wall. You determine when you walk, how many steps you take, when you stop, and when you lean into the wall. Practicing this will help you develop a lot of control in your walking and before you know it, you’ll be able to take those steps completely away from the wall.
Step 4 - Put It All Together
Time to put your hard work to action. Kick up to a handstand and control your lean forward (Step 2), take a predetermined number of steps (Step 3), control a lean forward (Step 3), and cartwheel bail out (Step 1). You are now walking on your hands! Now have fun with it. Set up distance goals, add obstacles to maneuver around, change up terrains, and see if you can start and stop. Let’s see your practice! Use #GymnasticStrength #ChrisLofland and I will give you feedback.
If you are interested in following Chris Lofland’s online templates or want to join his individualized programming, feel free to email him at CMLofland@gmail.com or visit my website www.ChrisLofland.com for more info on program, pricing, free articles and more! You can also follow him on Instagram at @C_Lofland
Purchase Chris Lofland’s Gymnastic Strength Program (HERE) for $89.95
Purchase Chris Lofland’s Muscle Up Program (HERE) for $35.95
Purchase Chris Lofland’s Handstand Program (HERE) for $35.95


